
Create public profiles for members with their content history
Through this extra feature, you can create a public profile page where your community member's details are displayed along with the content history / activity of the user within the community.

Step-by-step tutorial
For step-by-step instructions, be sure to check out our tutorial below 👇
The first step, is to create a static page in your Webflow project for the member profile page.

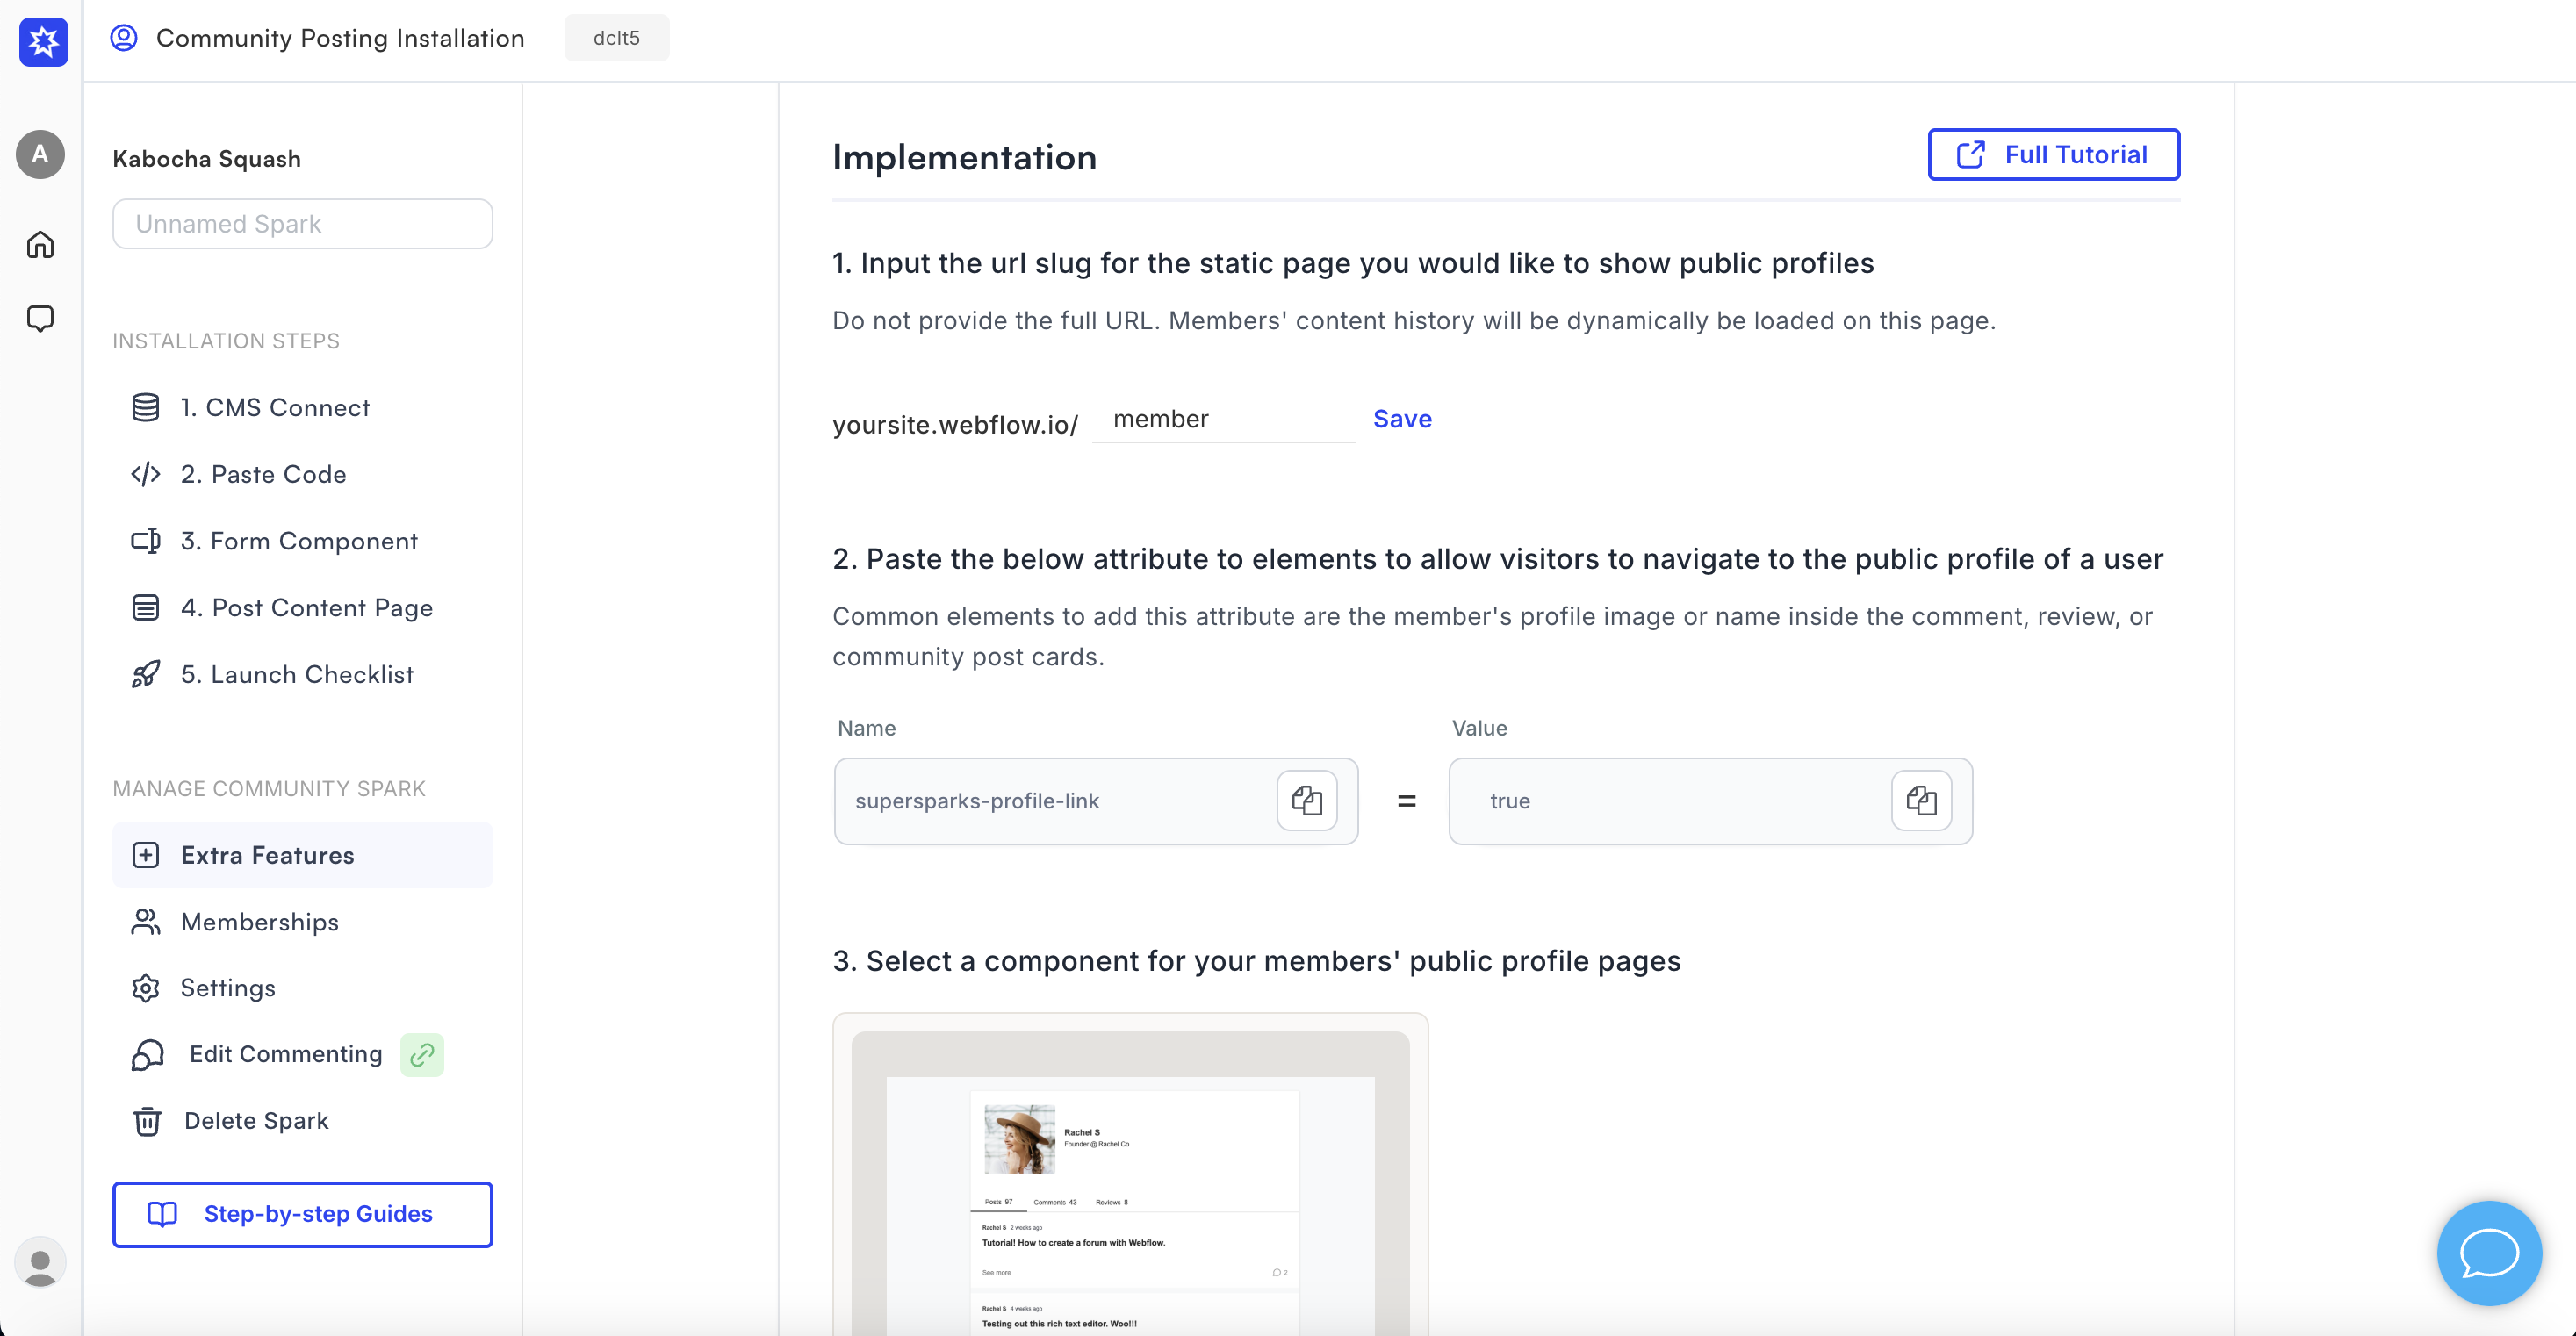
Then, copy the slug of the new page and go to your Supersparks extra features section for a comment, reviews, or community posting spark. Next, select the 'Member Public Profile' extra feature. The first step of the implementation is to paste the slug of the new static page into the slug input:
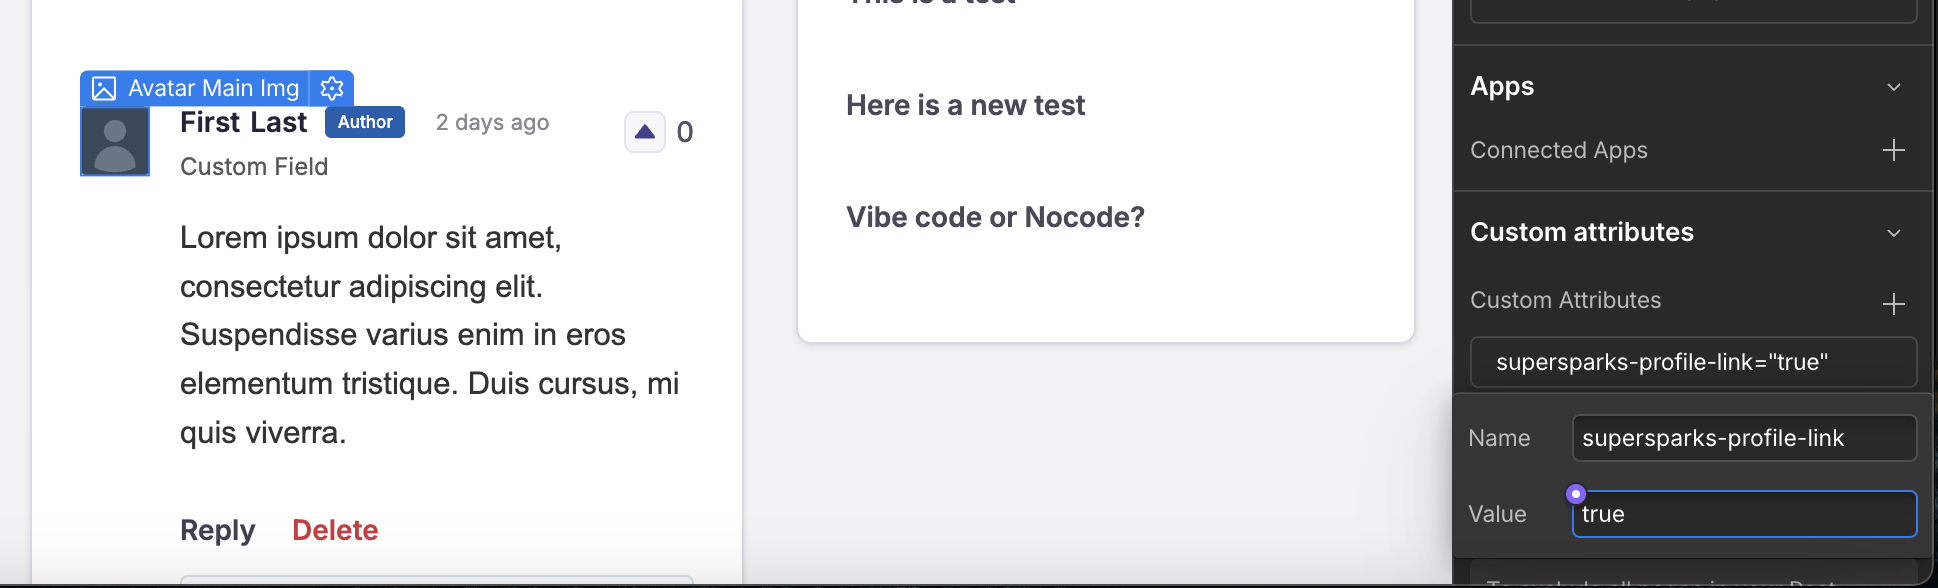
Next, you can add the attribute supersparks-profile-link = true to any member content profile element to allow users to navigate to the profile image of a certain member. Common places to add this are the name or avatar elements. This attribute can be added to profile details in post author, comment / reviews, and collection list areas.

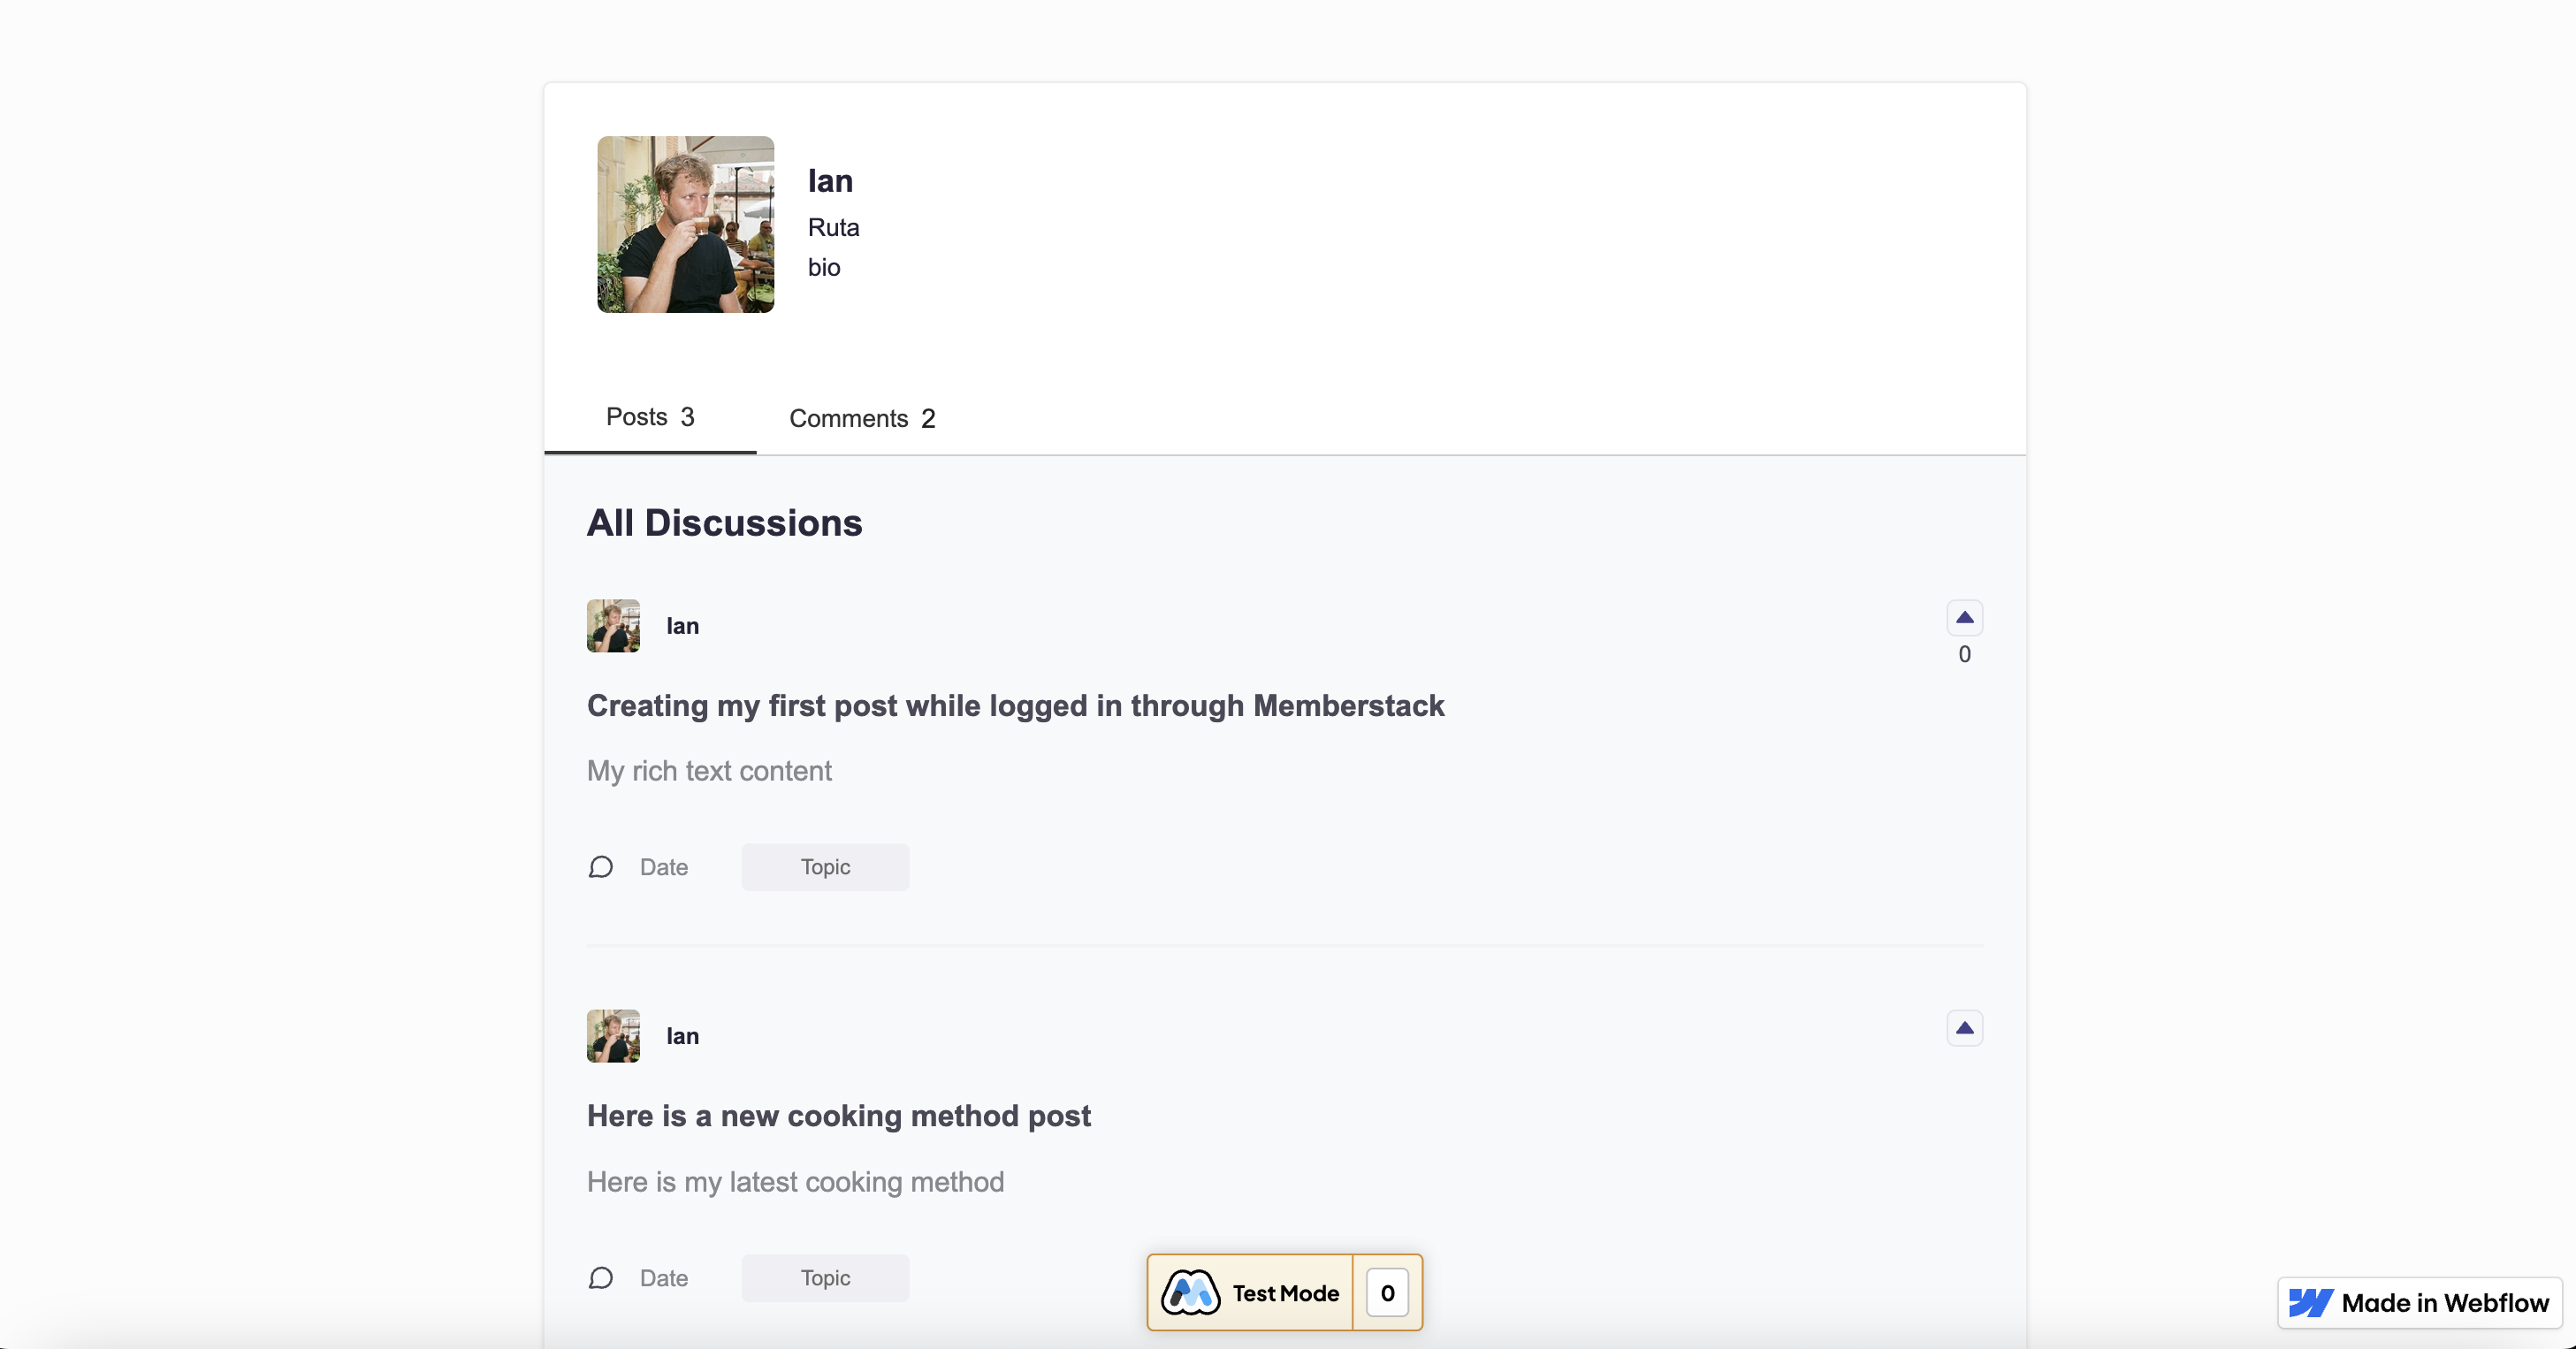
Last but not least, you would then copy and paste a component for the member profile to the static page you just created.


After publishing your Webflow site, you should then be able to go to member public profiles and see this feature in action 🚀.
My profile navigation
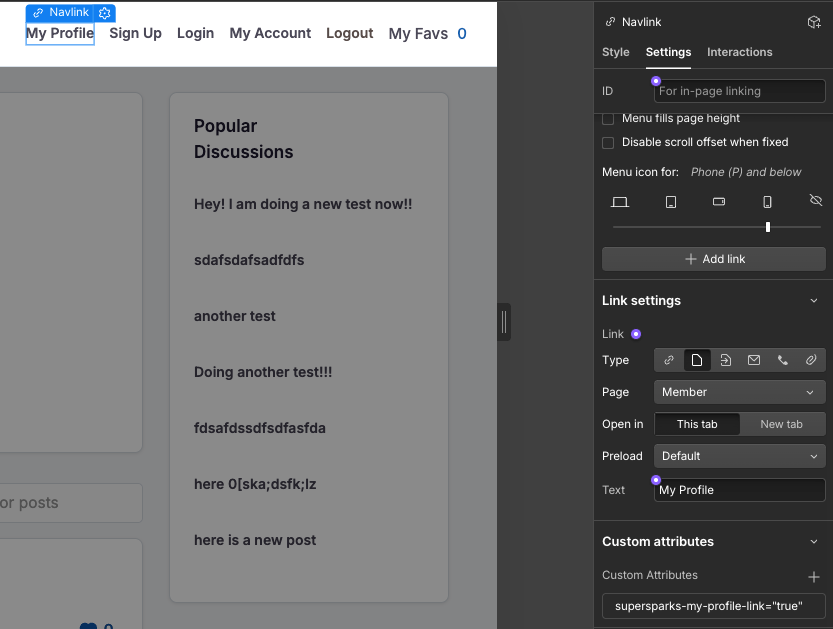
To allow users to navigate to their own public profile page from anywhere on your website, you can add the following attribute to a link element:
supersparks-my-profile-link = true
A common place to add this link would be in your site's navigation. Make sure the link element is linked to your public profile static page. Below is an example of implementation on a forum website:
CMS Public Profiles
If you would like to use a CMS collection to create a member directory and public profile pages that are SEO indexable, it is possible to show users' content history on their respective CMS item pages. Below is a tutorial for how to set this up:
Use A Collection List For Post History
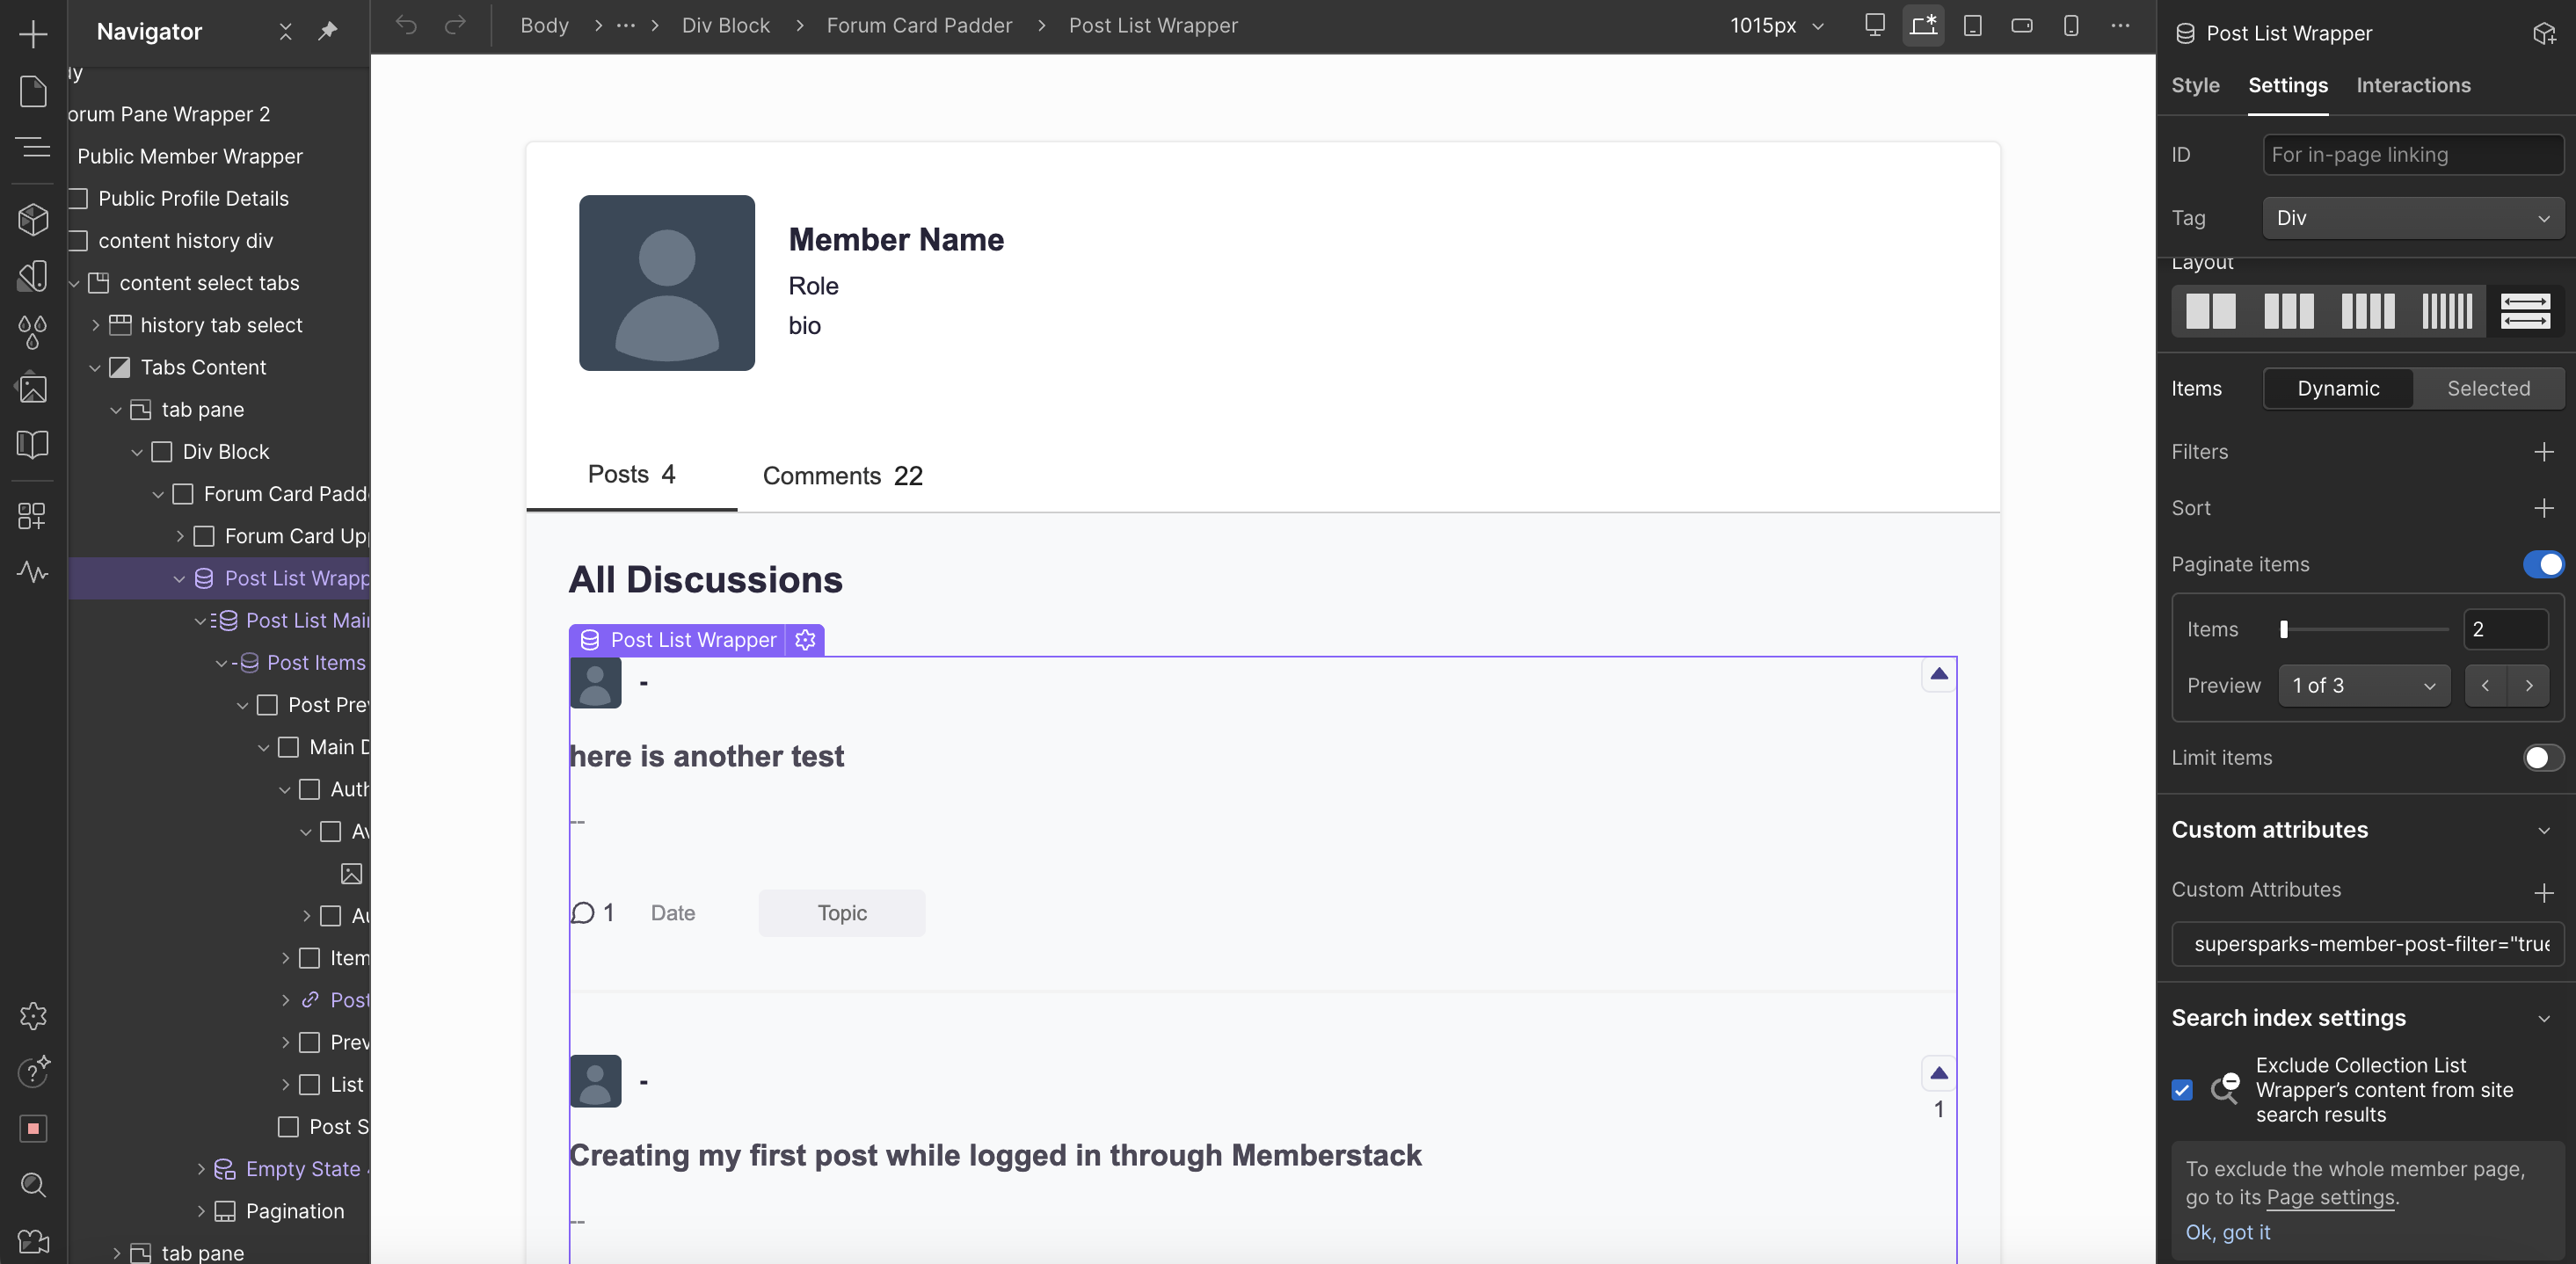
It is also possible to display community post history of members in a collection list .
To enable this, you can add a collection list to the profile static page and add the supersparks-member-post-filter = true attribute to the collection list wrapper element like in the example below.
If you already setup our collection list feature to display member details with posts, you can also paste the same collection list into the static profile page.
For a step-by-step guide see the tutorial below.


