
Display custom fields with member content
Other Custom Member Fields
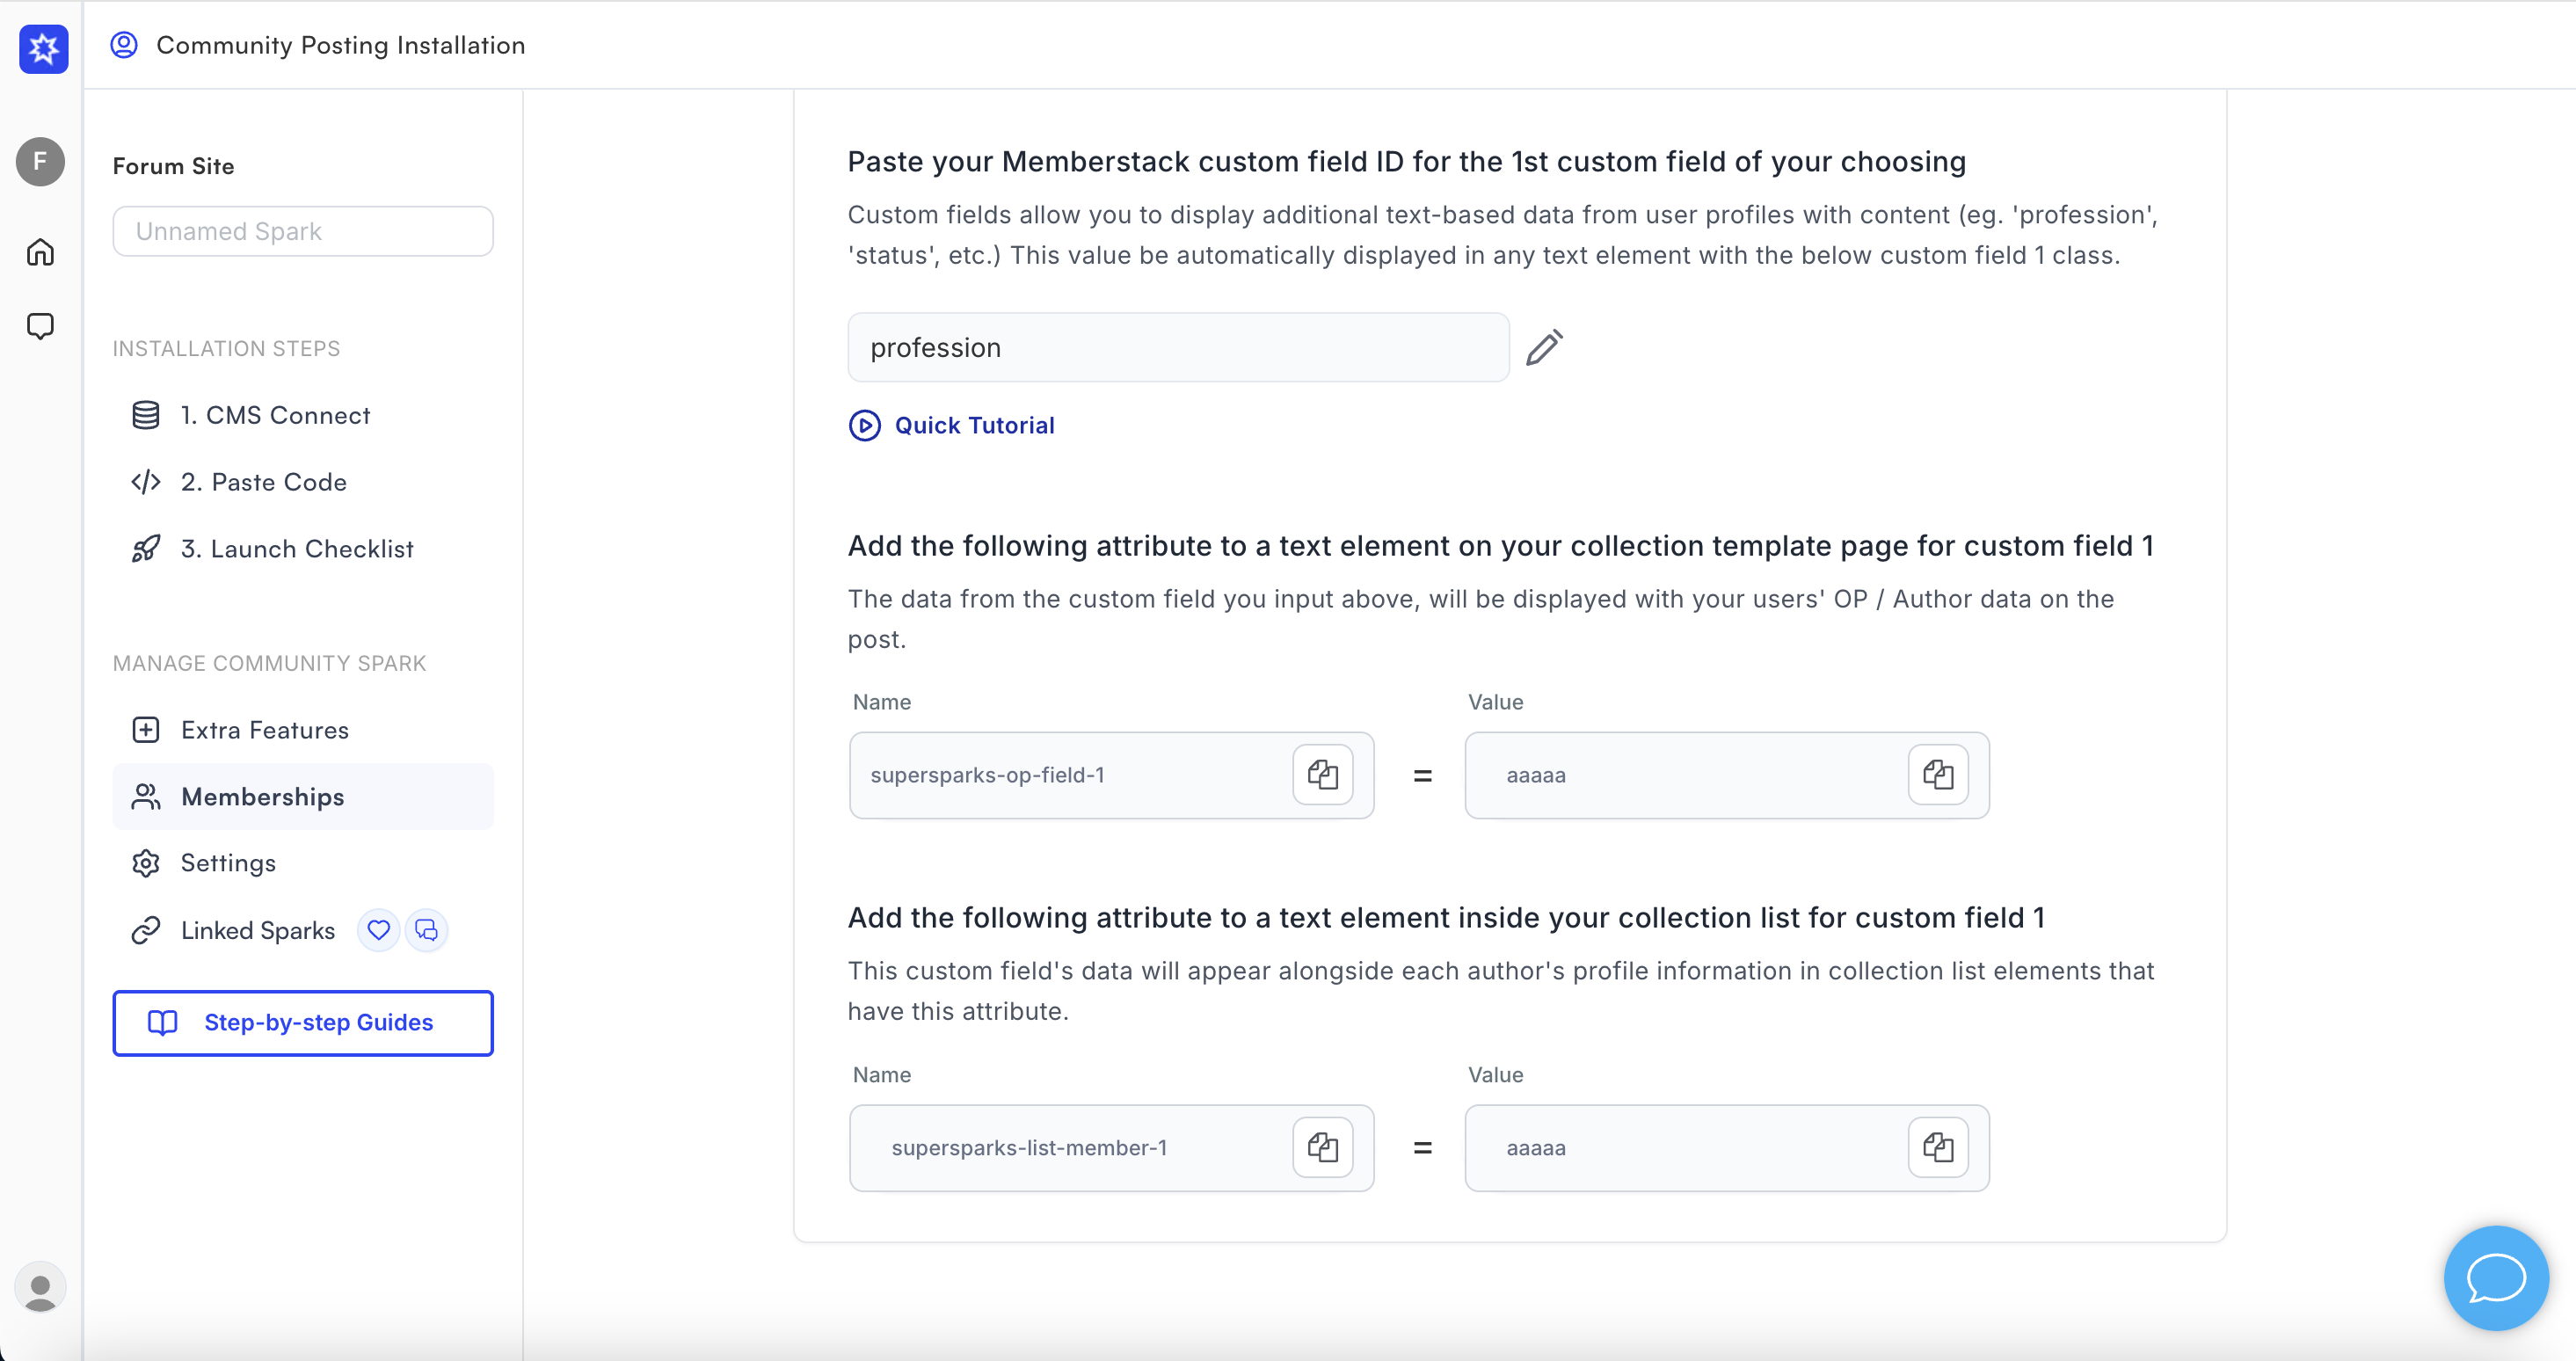
If you would like to display additional pieces of member data (eg. employer, profession, status, etc) with content, you can use Supersparks' custom fields slots. Below is an example where the members' title and company are being displayed with their content. You can display up to 3 custom member fields of your choosing.

Memberstack Specific Setup
The first step is to go to Memberstack and select the custom field you would like to display with members' content. Here you can copy the ID of the custom field.

After, paste the copied ID into Supersparks for the custom field slot you would like to use for the custom field and press save.

In case you get stuck, here is a video tutorial.
Outseta Specific Setup
The first step is to go to the Custom Properties section of your Outseta CRM, select the Person property you would like to display with members' content. Here you can copy the System Name of the custom field.

After, paste the copied System Name into Supersparks for the custom field slot you would like to use for the person property and press save. Make sure the pasted System Name is identical to how it is in Outseta, as they are case sensitive.

In case you get stuck, here is a video tutorial.
Assign Custom Fields To Comment / Review Sections
To display member custom fields with reviews and comments, you first need to add a text element to the comment cards in Webflow. Then, be sure to paste the attribute provided in the editor section for the custom field to the new text element - the attribute value will always be the unique 5-digit code for the spark (eg. supersparks-member-field-1 = bbbbb in the below example).
.png)
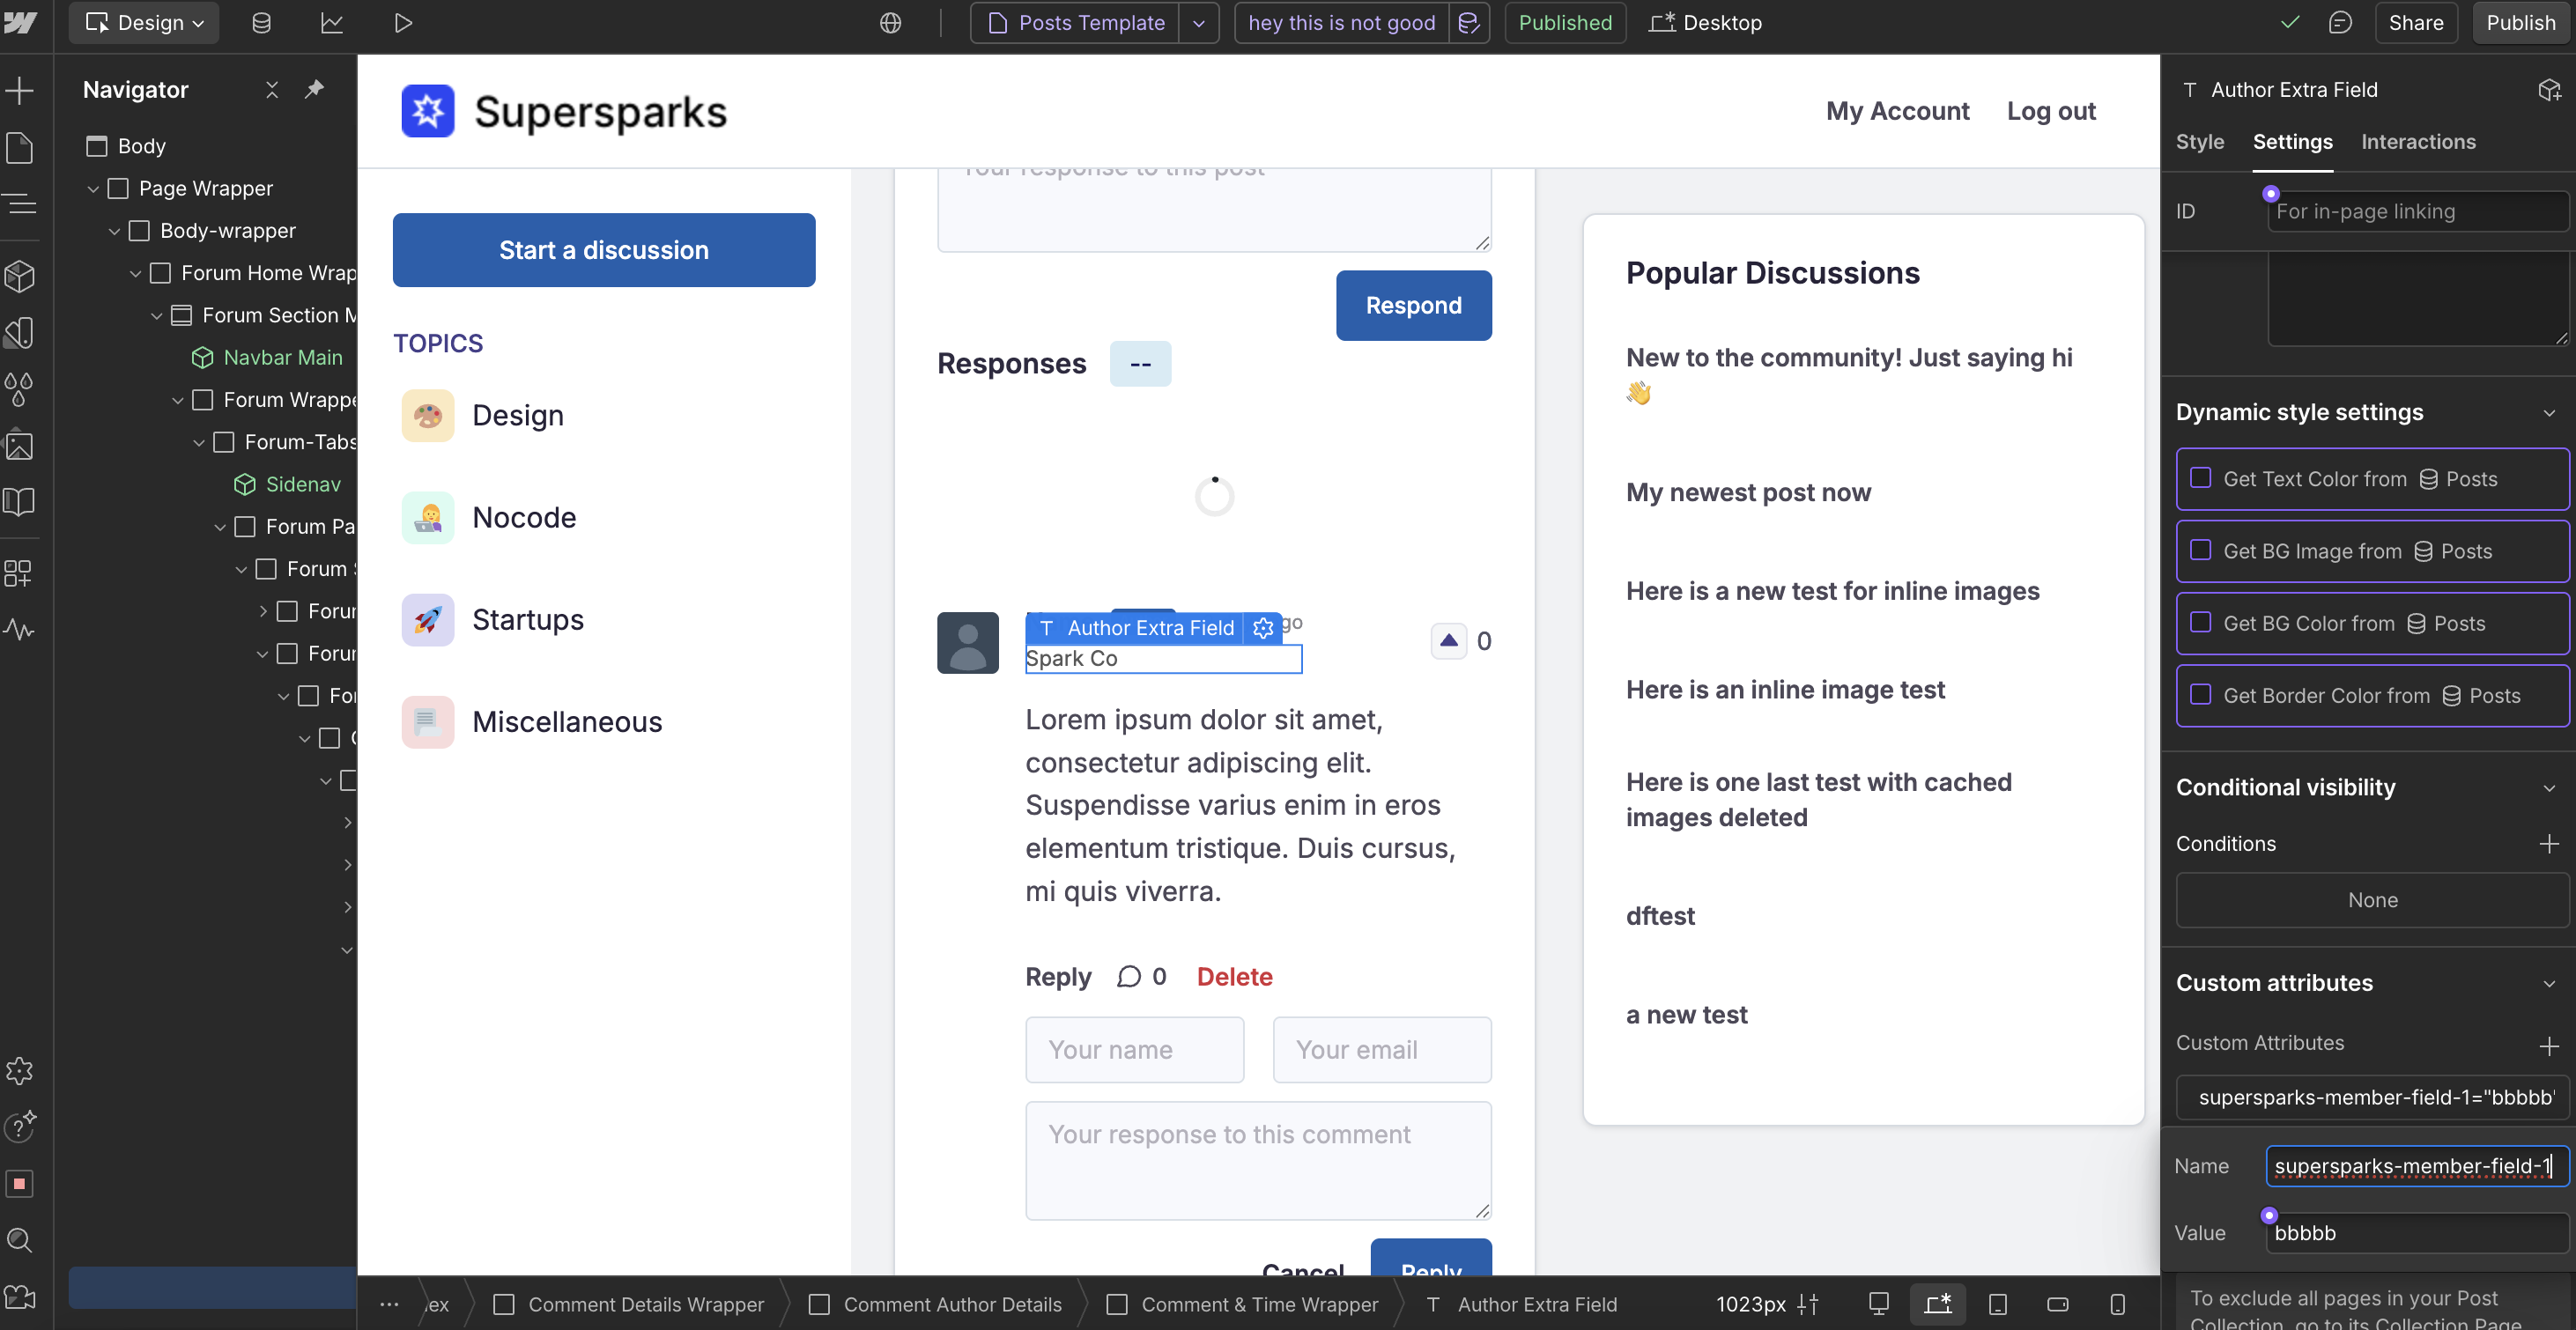
*Please note, the attribute names for displaying these member fields is different for our community posting app (see below). If you are only using our commenting or reviews app, you can ignore the next section.
Assign Custom Fields To Community Posting Sections
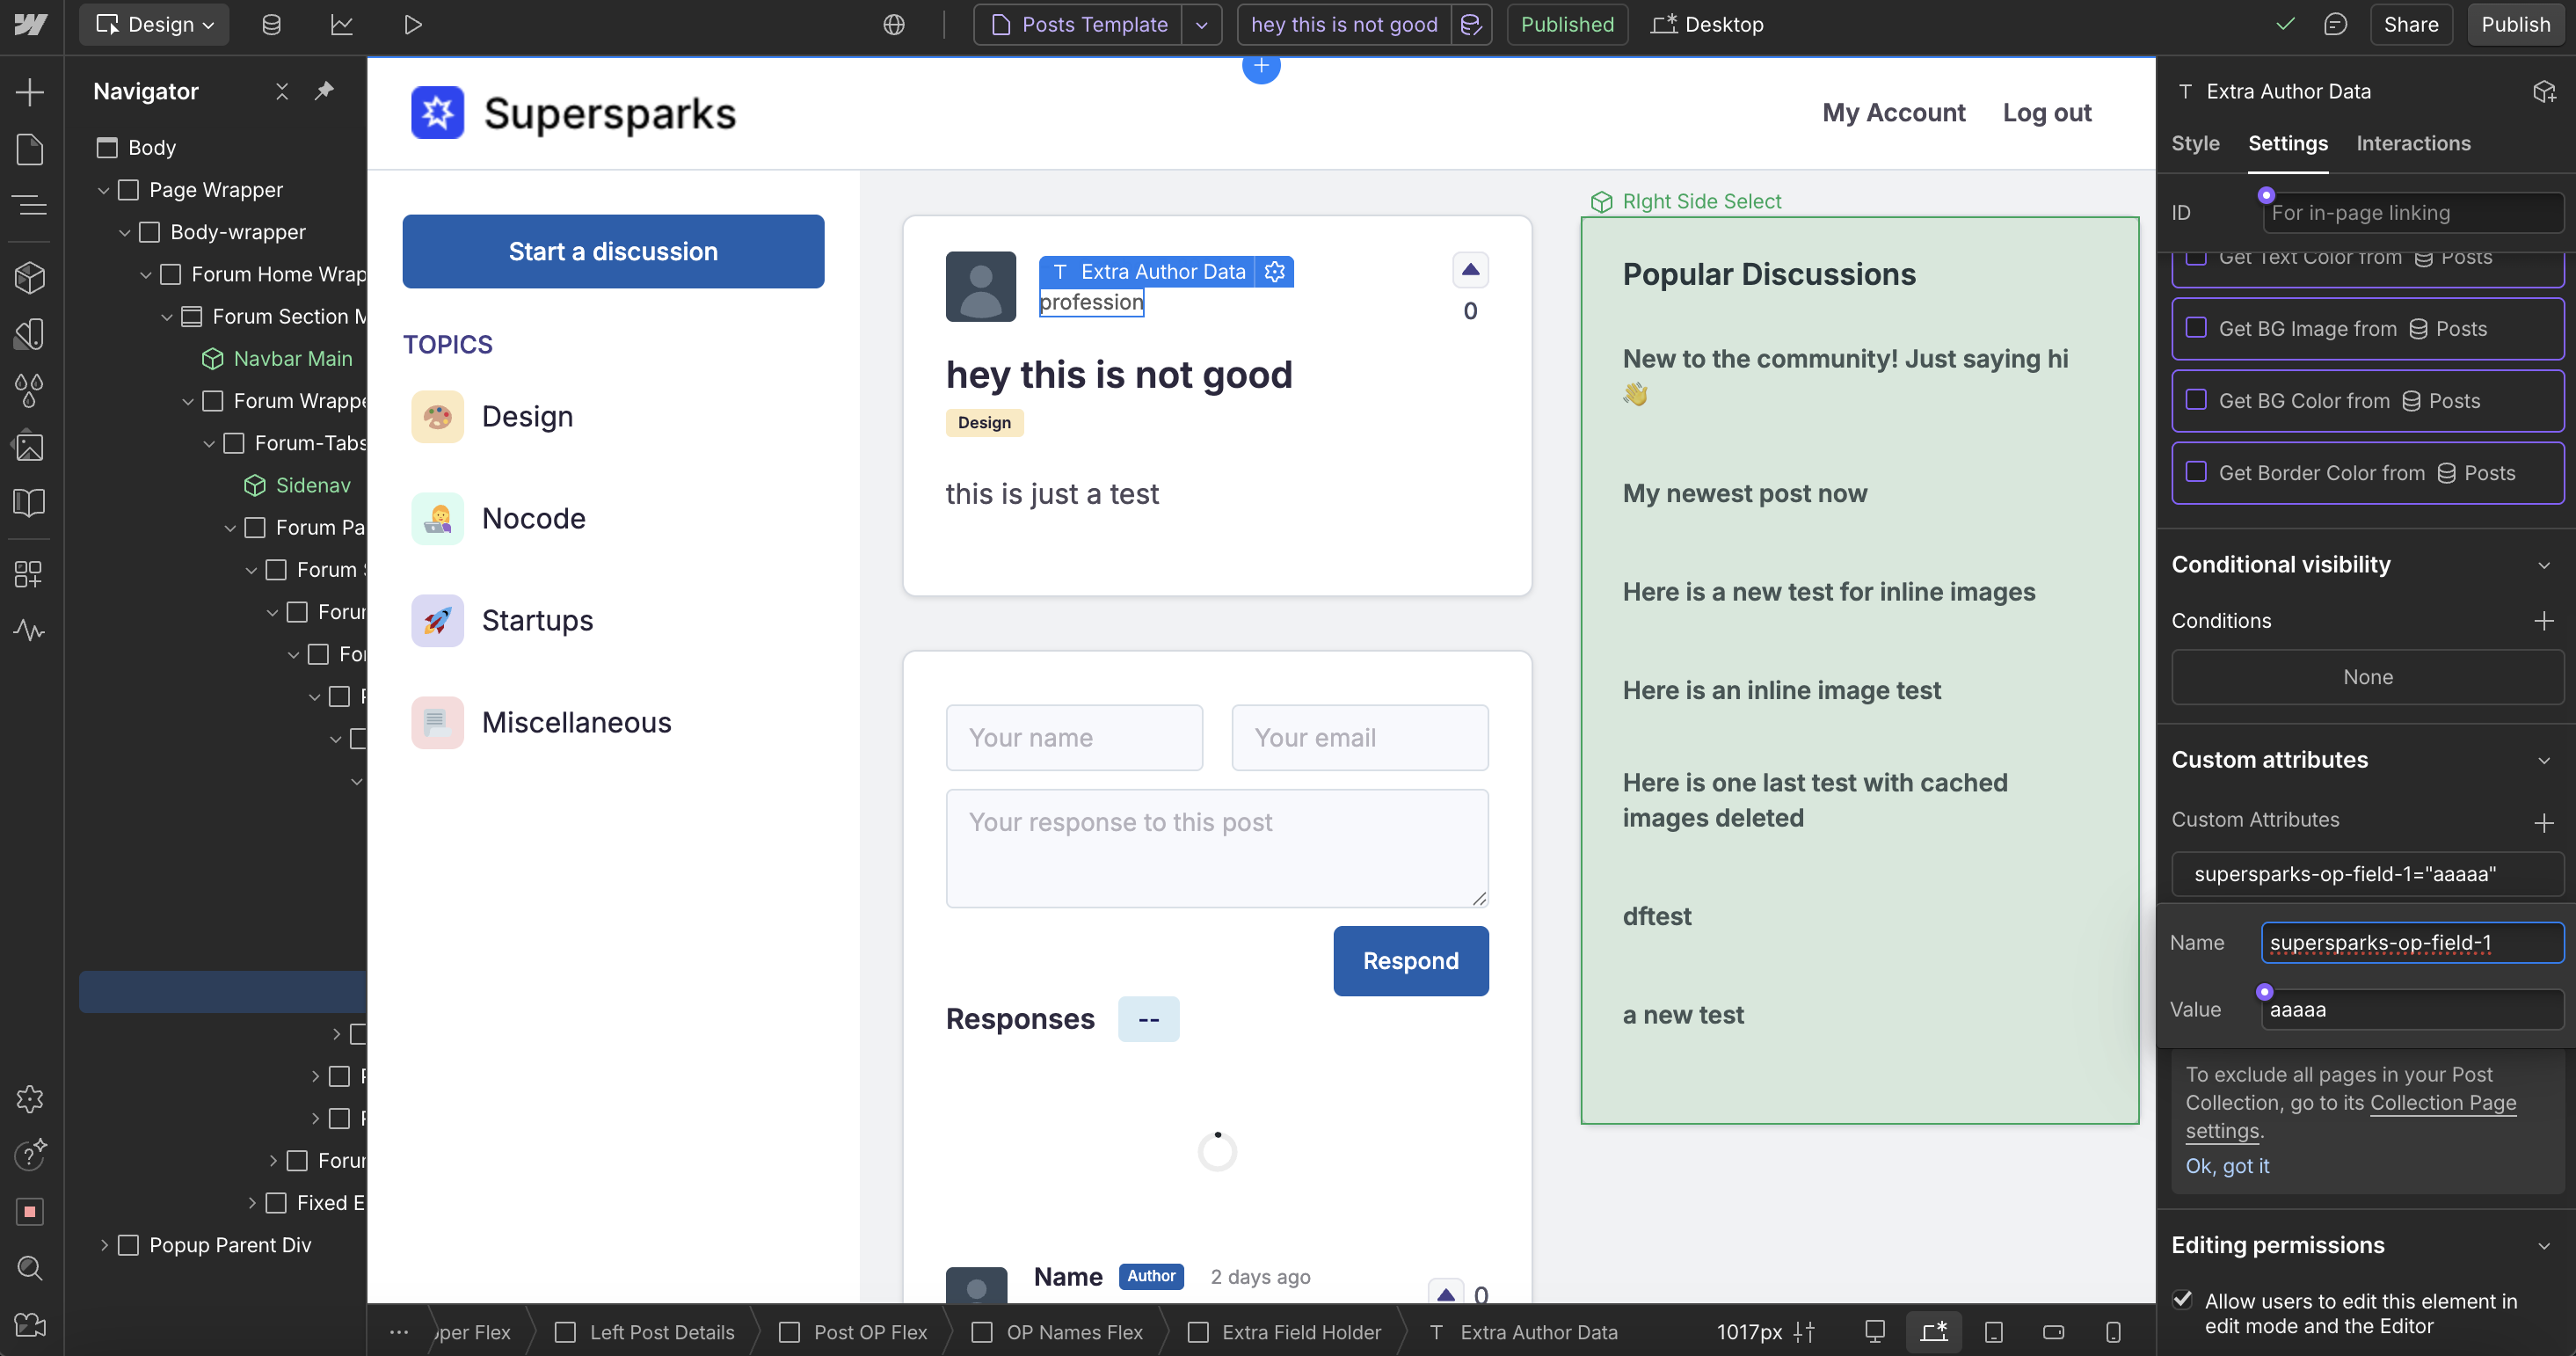
To display member custom fields with community post author details, you can add a text element to the the collection template page and any collection list element for displaying post author details. Then, be sure to paste the attribute provided in the editor section for the custom field to this new text element - the attribute value will always be the unique 5-digit code for the spark (eg. supersparks-op-field-1 = aaaaa in the below example).

Assign Custom Fields To Public Profile
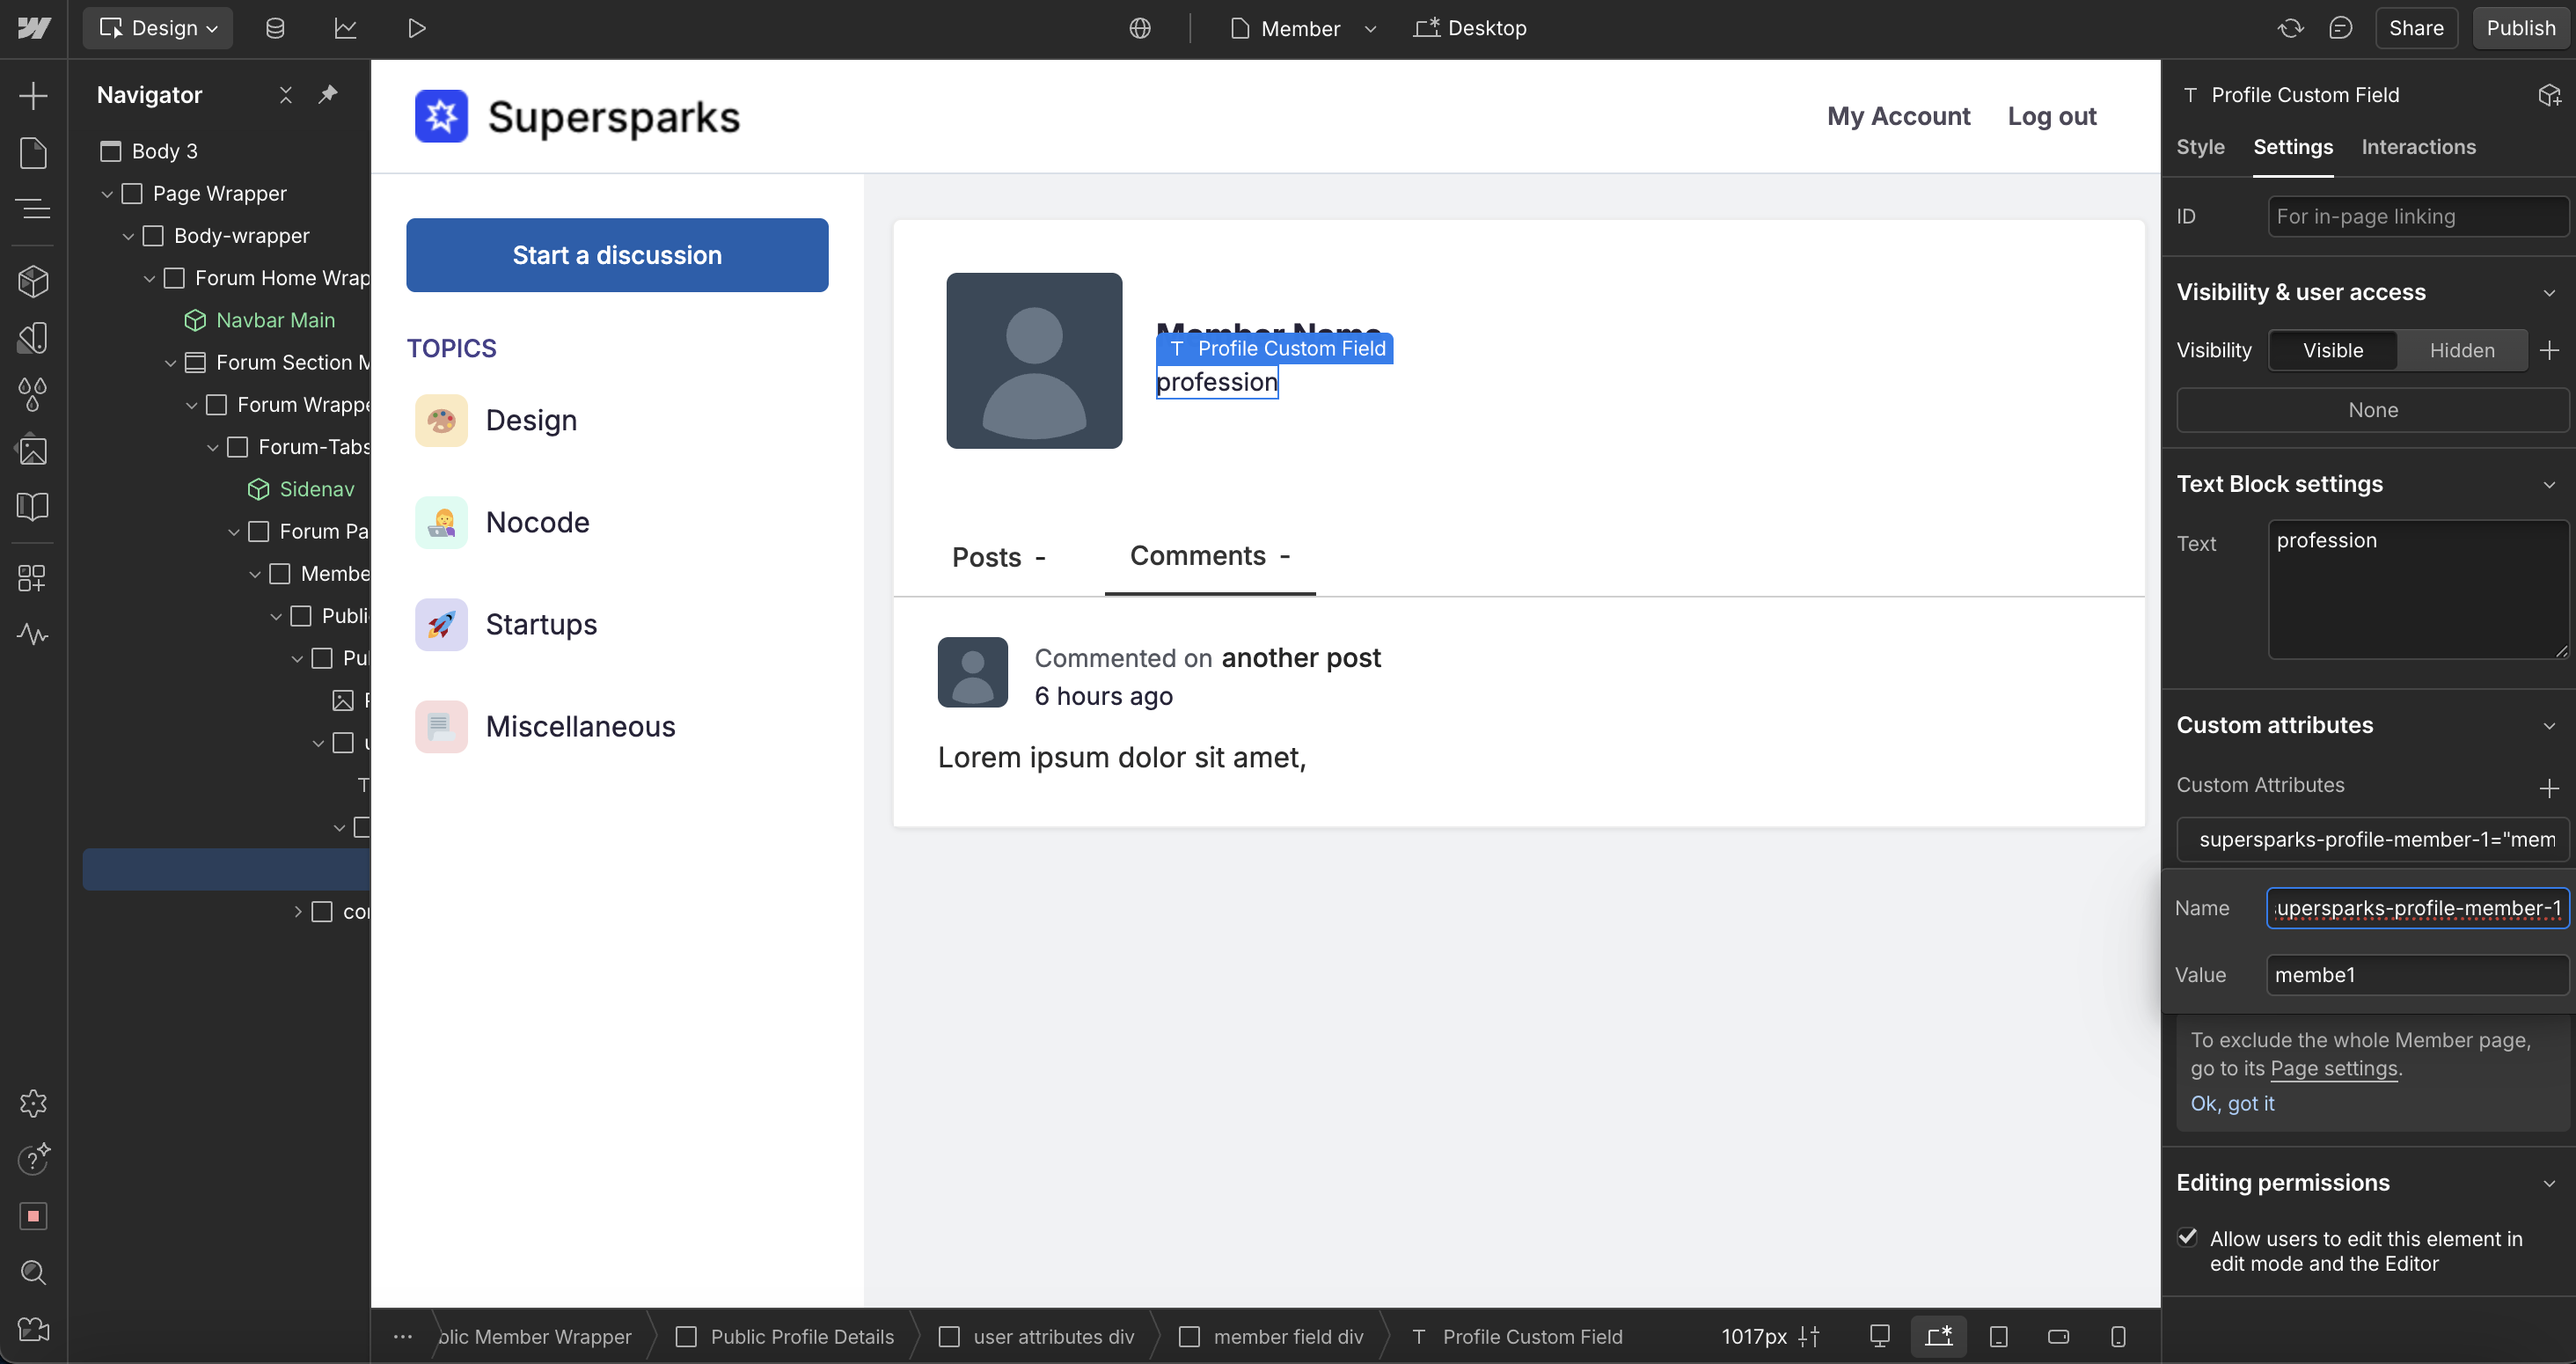
To display member custom fields on public profiles, you can add a text element to the public profile page and add the following attributes:
- Member field 1:
- supersparks-profile-member-1 = membe1
- Member field 2:
- supersparks-profile-member-2 = membe1
- Member field 3:
- supersparks-profile-member-3 = membe1
Please note, the attribute code for this feature will be 'membe1', instead of a unique spark code.
Please note, you can configure certain custom fields to only be displayed on the member public profile page. For example, fields like bio and location might be better off not being displayed with members' content and limited to just the public profile page.
Bonus Custom Field: Unused Username Slot
If 3 custom fields are not enough, and you are planning to only show members' actual names and no username, you can use the username feature for any additional Memberstack or Outseta field you would like to display with members' content and profiles. To get started, follow the steps for option 2 in our username help article - the only difference, is to paste the field ID of the other custom field you would like to use (instead of pasting a username field ID).


